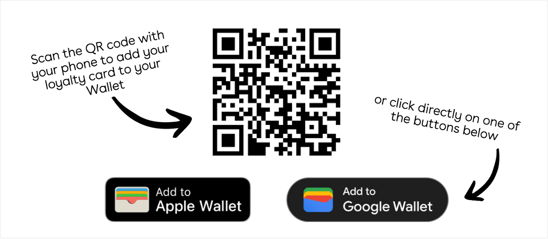
Read how to give contacts the ability to add their loyalty card to their Apple or Google Wallet here
The Wallet provides quick access to the added cards, allowing you to make the process of saving points even easier for your contacts! In this article, learn how to set up, design and then use the Wallet passes.
→ Wallet Passes set-up & design
Wallet passes are digital passes that you can add to the "wallet" on your phone. For iOS phones, this is called Apple Wallet; for Android phones, Google Wallet is used. It is now possible to have contacts add their digital loyalty card to their Apple or Google Wallet, and offer this shortcut in your emails and (sign-up) forms!
Wallet Passes set-up & design
To set up and design Wallet Passes, follow these steps:
- Log in to your Business Dashboard, go to Tools (9 dots at the top right), then click Wallet Passes
- Click on Loyalty Pass, this will open the editor
- At the top right under Styling you can set a logo, image and background color
- Under Edit front side you can customize the Title, Subtitle (only available for Google Wallet), and fields
- Three fields are available: top, left, and right. Here you can add contact-specific information such as email address, credit balance, or any other attribute
- In Notification after updating this field, you can set a push notification to be shown when, for example, the credit balance has changed (only available for Apple Wallet)
Tip! Don't forget to regularly check your settings for both Apple Wallet and Google Wallet in the editor to make sure your settings come across as intended for both.
Please note! Push notification are only supported in the Apple Wallet (iOS).
Using Wallet Passes
Once your Wallet Passes are set up to your liking, you naturally want your contacts to be able to add them to their Wallet. You can do this by adding the 'Add to wallet' feature to emails, forms or the Contacts Portal. For example, think about how your contacts register with you and in what way this process can be made easier with the use of Wallet Passes!
Emails
When creating an email or template, you can now add an 'Add to wallet' block. You add it the same way you're used to: select and drag it to the desired place in your email.
Recipients can click directly on the button relevant to them from their phone to add their card to their Wallet. Are they opening your email on another device? Then add a QR code too!

Forms
The 'Add to wallet' feature is only available in Personal forms. To add the 'Add to wallet' button to a new form, follow the steps below:
- Create a new form and choose Personal form under Type
- Give your form a name and attach an email with category "Personal form authentication". This email will be sent to verify the identity of your contact
- On the Success page (the last one) you can add "Add to wallet" blocks: the QR code and the buttons
Contacts Portal
In the Contacts Portal editor, add the 'Add to wallet' button on the Home page in the Balance block. To do this, enable the "Show 'Add to wallet' button" option. Read more about setting up the Contacts Portal in this article.
